Wednesday, November 6, 2013

Carpeting Upstairs in the Bedrooms

Much like the hardwoods in our hallway, the flooring in our bedrooms upstairs wasn't in the best of shape.  We had always envisioned that we'd carpet more than just the hallway, and the time had finally come to make that vision a reality.

So we went back to Lowe's and matched the Stainmaster carpet we had previously installed, for a seamless look.

We actually opted not to carpet our master bedroom at this time because carpeting the master bedroom alone was $1300.
Since we're also about to renovate our main bath
we figured we'd rather spend that 1300 there.
We can always carpet our room later!

A couple notable problem areas that we did cover:

Again, what treasures lie below?

Unfortunately, the problem with carpeting after you
move in (and carpeting rooms filled with stuff), is that
you have to move a bunch of stuff.  Our upstairs (and some parts of the downstairs) was a total DISASTER zone!!


But it was all worth it after the carpet got installed!
Carpeting the bedrooms immediately made them feel warm and comforting, the way a bedroom should feel. :) The kitties love spending time in the other bedrooms now.  The carpet also really improved the flow between the hallway and the 2 bedrooms.
Take a look at the difference in one of the bedrooms!

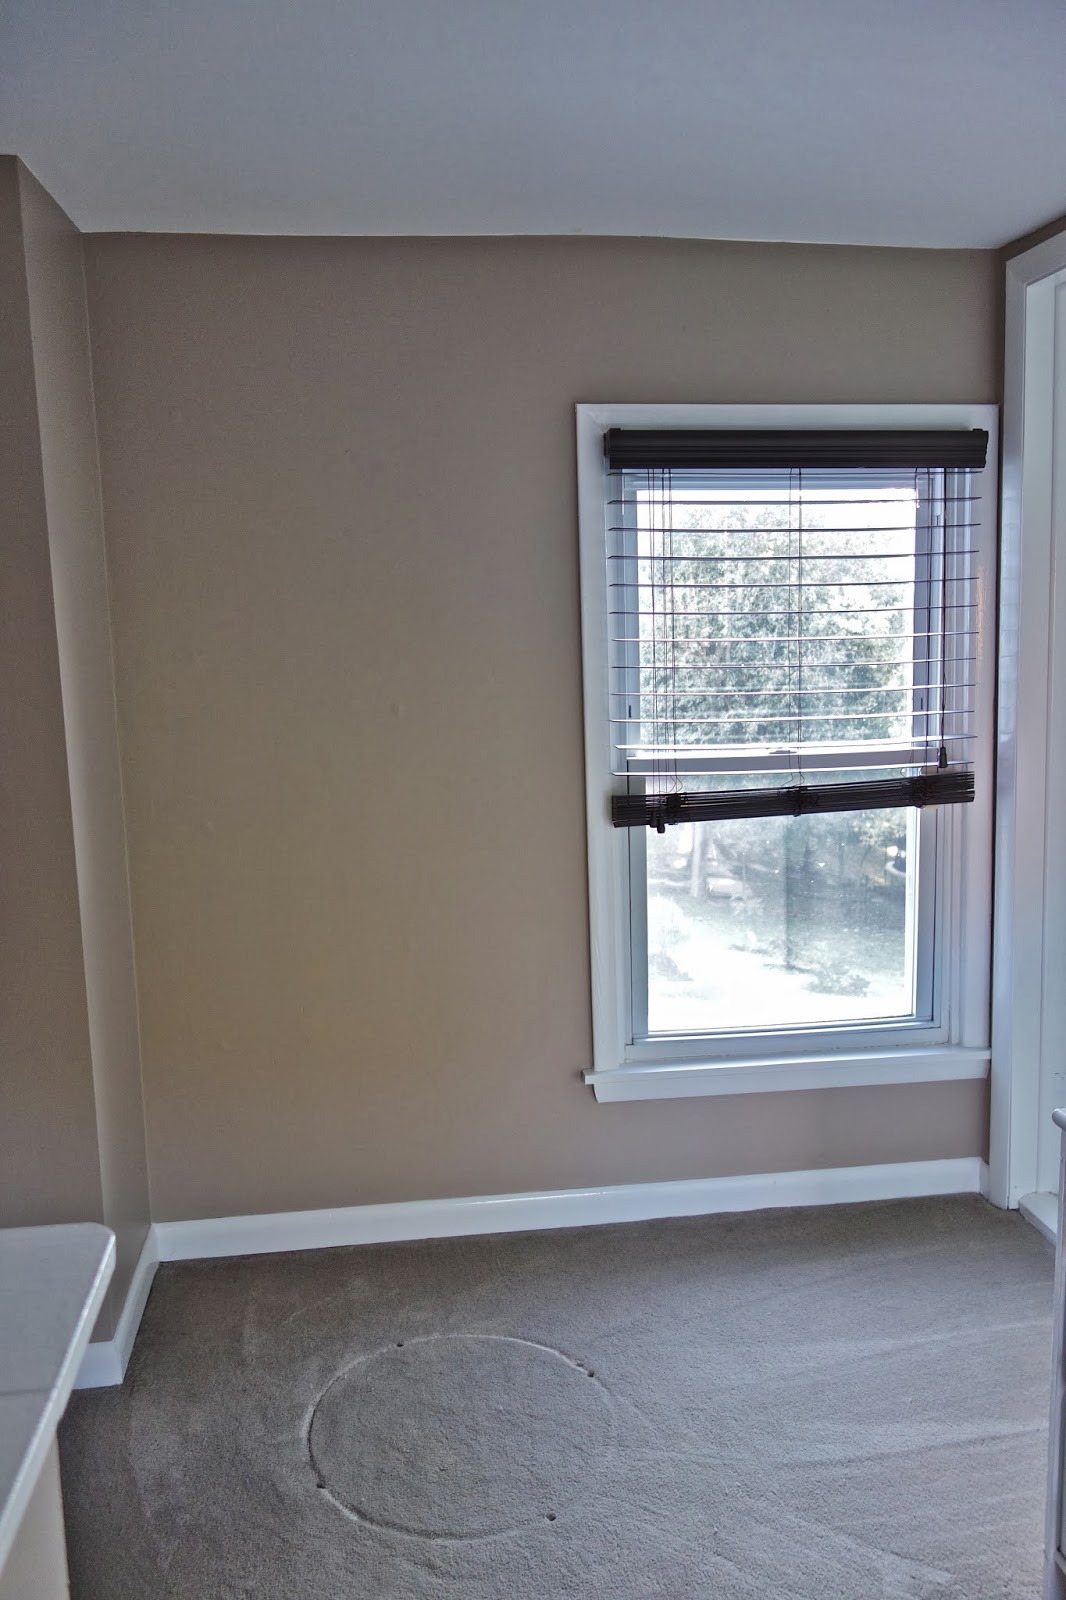
Before:


After:


While getting carpeting installed isn't a huge home renovation project by any stretch (and all we really did was move furniture), every little thing that we do to improve the house gives us a sense of satisfaction, and makes us feel that much happier with our home.  Especially when we can cover up bad floors and make our farmhouse more presentable.

Now that we have the carpeting in place, we're really excited to move onto bigger and better projects, like the bathroom renovation.  Demolition starts this weekend!  Yay!

Sunday, November 3, 2013

DIY - Refinishing the Clawfoot Tub, Part 2

After refinishing the exterior of the 1914 clawfoot tub
(Refinishing the Clawfoot Tub, Part 1!), it was time to tackle
the interior of the tub - the porcelain.

We thought briefly about hiring a professional.  I've read 
that's the only way to get a really great finish that will last - but I also read about several cases where professional finishes crapped out after a few months of use too...  So you can't win.  And it's hundreds of dollars, which is difficult when we're trying to get the bathroom done as frugally as possible. We have expensive taste so we have to make up for it somewhere!

First we wanted to address major flaws in the porcelain enamel.


We used a product called JB Water Weld Epoxy Putty to
patch some small scratches and larger chips, like this one:


There ended up being a lot of areas that we patched up.


After allowing the epoxy putty to cure, we sanded the entire surface of the tub to make sure it was even and ready to be refinished.  This required a combination of power sanding and sanding by hand - the curves of the tub actually made
hand-sanding with sandpaper sheets more effective than
using the power sander for a lot of areas.

We also decided that the drain needed to be removed prior to refinishing to prevent rust from forming under the old drain.  
It was incredibly difficult to get the drain out.
Theoretically they're supposed to screw out.  We tried pliers.
We got nowhere.  We tried prying it with a hammer and a flat head.  We got nowhere.  We eventually went to the hardware store and got a tub wrench similar to this.  We tried to use it (it barely fit) and we still couldn't get the drain to unscrew from the drain pipe on the underside of the tub. We tried WD-40.  Nothing.  Things were starting to seem hopeless...

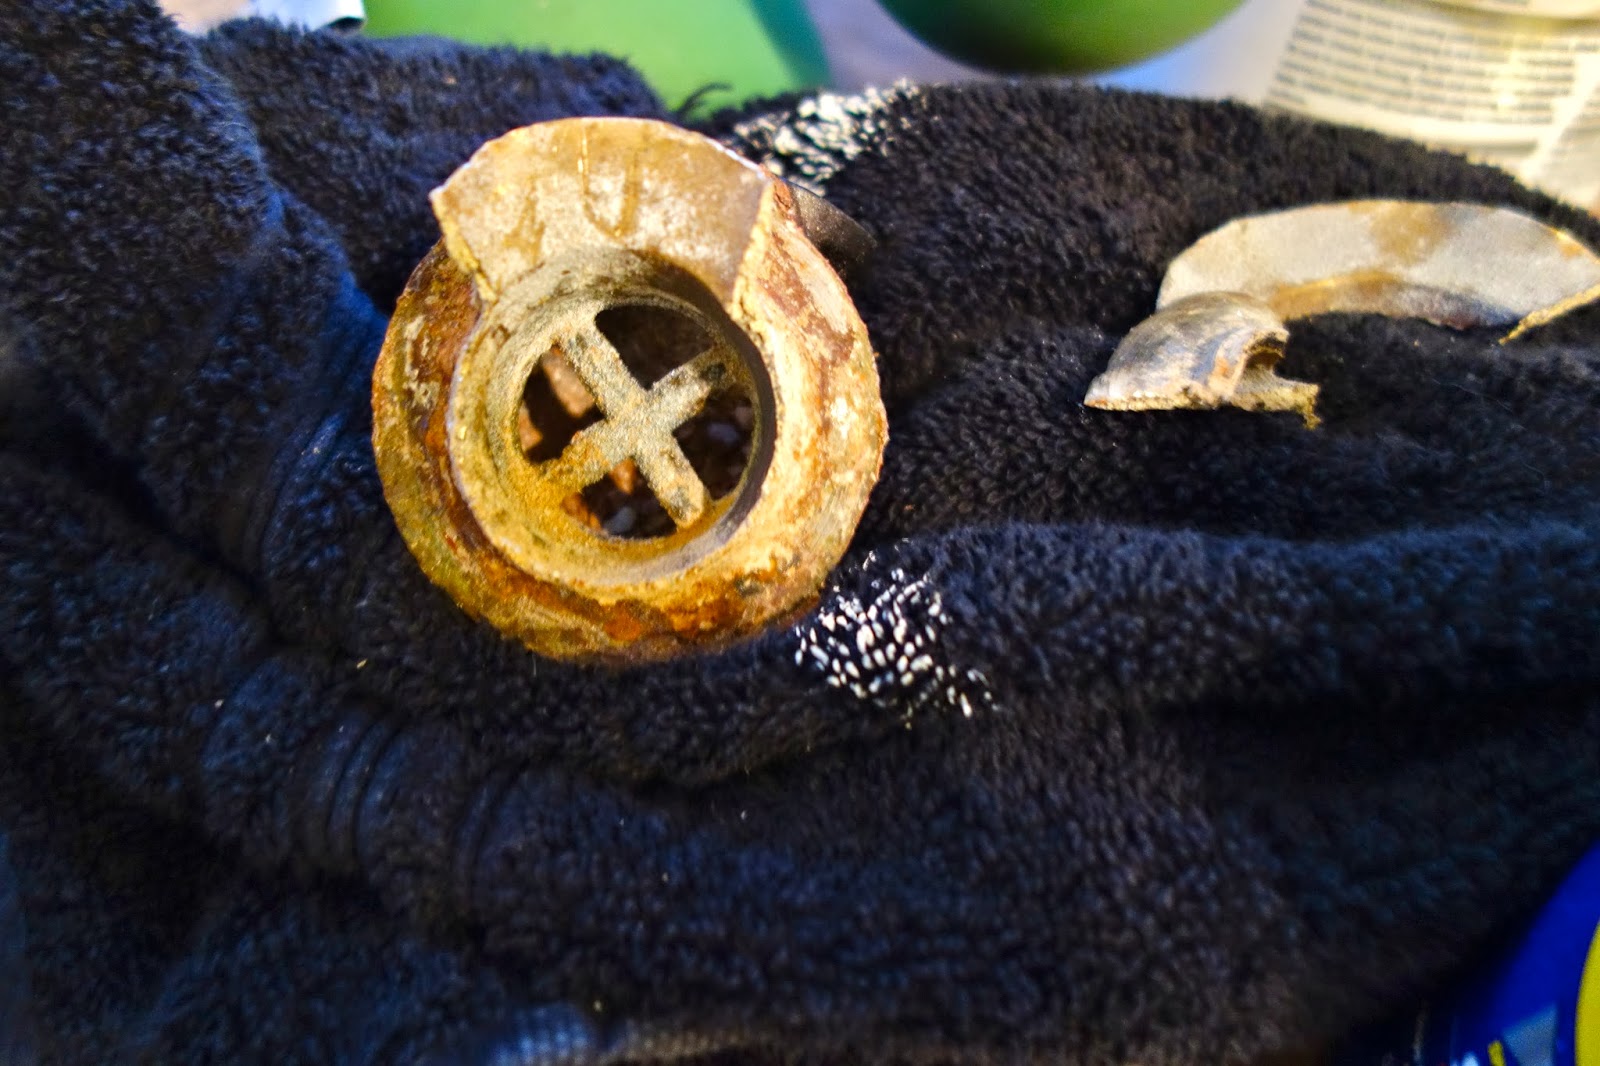
 We went back to trying to pry it up with a screwdriver and a hammer, and eventually had some success prying up the edges all around the drain.  Then one whole half of the top edge just broke off.  At this point, we went back to using the wrench which seemed even less able to fit than before (the drain had probably bent in our drain removal antics).  Clint resorted to hammering the wrench into the drain just to get it to fit.  Wouldn't you know it, Clint hammered hard enough to just push the entire drain out through the bottom of the drain hole!  Haha! YES!!


We were left with this - yummy!:


We were finally ready to start preparing the tub for the refinishing kit.  After much online research,
I chose the Bathworks Refinishing Kit w/Slip-Guard.

All in all, the refinishing process was a lot easier
than I had anticipated based on everything I had read online.
Many reviews said that it would be difficult, smelly, look crappy and peel after a few months.  (We took the risk anyways).
A majority of comments online revolved around the noxious fumes. We did the whole process outside, so that probably helped with the fumes.  I couldn't smell anything because I was using a full scale ventilator, but Clint said it wasn't bad at all.  However, if you're planning on doing this indoors, I'd definitely recommend a get up like this:


you can never be too safe!
The kit came with everything we needed.  It included an etching cleaner (which helps prep the surface for the bonding primer), sandpaper (which acts similarly), tack cloth (to wipe the tub free of all dust & debris), bonding primer, 2 part epoxy finish, non-slip additive, foam roller, foam brush, and paint tray.

Everything I read online told me that prepping the tub was the most important step -- sanding it, cleaning it, etching it and priming it.  If you failed in these steps, your finish would eventually (or quickly) begin peeling.  So we focused on that.
We followed the instructions in the kit - paying special attention to the preparatory steps, and put 2 coats of the epoxy paint finish on the tub.  I've gotta say, the tub immediately looked better!  The coating completely covered all of the stains that were on the inside of the tub.


After the two coats, we had to devise a plan to keep a bunch
of outdoorsy things (bugs/seeds/dirt/leaves) from landing on the tub and getting stuck in the finish, since it took several hours to dry. (You're also supposed to avoid putting water in the tub for 24-48 hours, which is something to note if you're doing this to your only tub/shower).  Fortunately we happened to have a loveseat cover that I never used from a previous move, 
and made that work.  Nothing landed on it!


The finish is really shiny, and feels pretty solid.
Unfortunately - it wasn't perfect. :(  Actually more like double sad face. :( :(  There were a couple runs in the epoxy, and that really annoys me because we were pretty darn vigilant about inspecting the tub while coating it (and I'm a perfectionist).
It's not terribly visible, and I don't know how many
people would notice if I didn't point it out, but:

I pumped up the definition to make the run more visible.
In retrospect, we should have gone back to check on the tub 20 or 30 minutes after we 'finished' to make sure there still weren't any runs.  That probably would have ensured something
closer to a 'perfect' finish.

Nonetheless, overall I'm happy with the Bathworks product and happy with our decision to refinish the tub ourselves.  Even as a perfectionist, I can honestly say that the tub looks pretty great, and it was a heck of a lot cheaper than hiring a company to do it.  And it was exciting that it was one more thing we did outselves.  Nothing like a personal touch!

With any luck, we did a good job doing the prep work on the tub and the finish will stay strong for many years to come (I'll update you guys in a year or so!).  And eventually, when the finish does start to falter, we'll do the whole thing again - and  next time we'll eradicate those pesky runs.  :)

Stay tuned for a short post on fixing up the tub feet!

Friday, November 1, 2013

DIY - Refinishing the Clawfoot Tub, Part 1

One of our biggest goals for updating the farmhouse
was fixing up the main bathroom upstairs.  We wanted to stay 
era appropriate, so we were thinking of a clawfoot tub.  But the bathroom isn't large enough for a shower AND a tub and I've heard that clawfoot tubs are inconvenient to shower in.  Conundrum.

In the end, we decided that maintaining the farmhouse
aesthetic and the charm of this 1911 home was worth the possible
shower inconvenience.  And it would look great.
(And isn't that what's most important??)

Looking online to buy a new clawfoot tub, I saw that
they are ridiculously expensive.  Somewhere in the ballpark of 1500-3000 (or more!), after you get all the hardware you need such as the shower conversion kit.

So naturally, I started looking on craigslist and
found an AWESOME American Standard clawfoot tub from 1914!
More specifically, August 17, 1914!  How cool was that??
And it was only 125 dollars.  Score!

the interior had some rust stains

the exterior really has some rust,
and the paint was chipping off
Although it wasn't in bad shape considering the age,
it was clearly going to need to be refinished before it would
go into the bathroom.  We started with the exterior.

We began by stripping the paint.  After extensive online research, we got a really eco/human friendly paint stripper called 'SmartStrip'.  You paint it on, leave it for a long time, and then remove it.  After we stripped the paint off, Clint took the power-sander to the tub to smooth it out.


 It was a bit of work (have I mentioned how much I love Clint, the best husband in all the land??), but finally the tub was prepped and ready for priming!

the tub, in all of it's natural cast iron beauty
For priming, we went with the RustOleum Professional Rusty Metal Primer and I slapped 2 coats on - just to make sure we didn't miss any spots that could potentially rust out at some point. I kind of really liked the color of the primer.


The next day, it was finally time to actually paint the exterior!
We had debated if we wanted to go all white or do some color, 
and we decided that we actually really liked the black and white look and stuck with that.  It has actually inspired our renovation ideas for the whole bathroom.

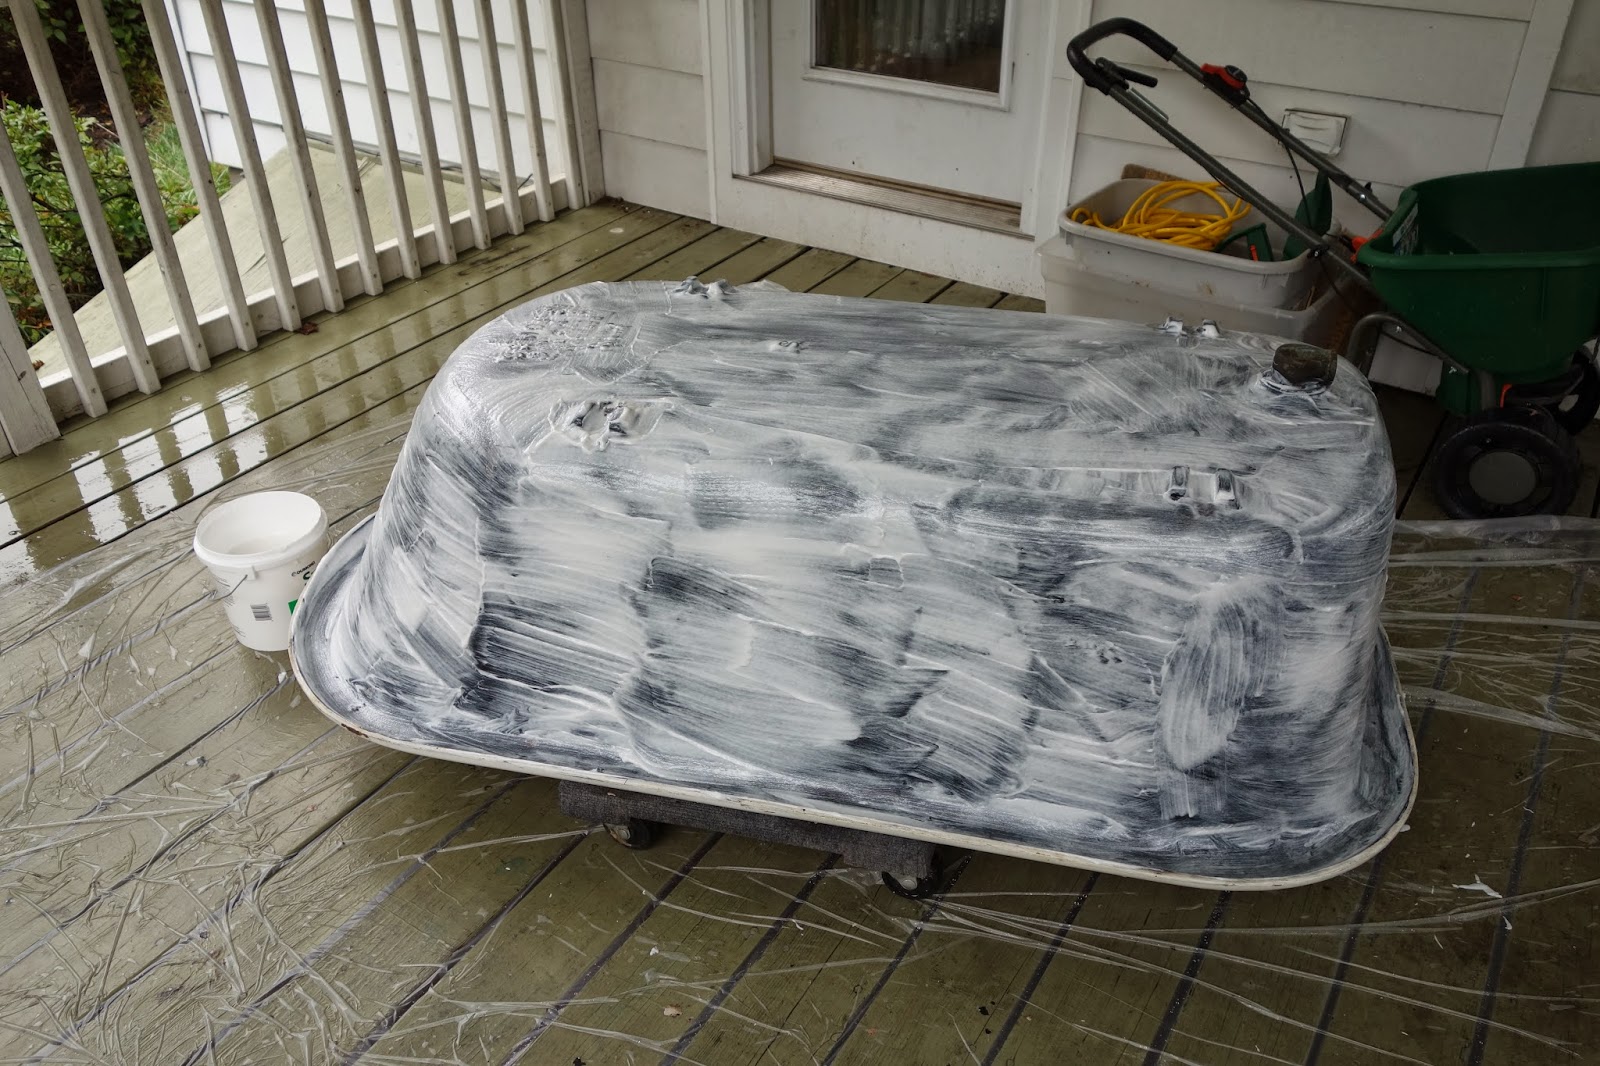
We chose the RustOleum Stops Rust Hammered Spray.
Needless to say, I was really looking for rust prevention!
I really liked the way it turned out - it has a cool finish that
isn't too flat, isn't too shiny, and is perfect for covering
not perfectly flat surfaces such as cast iron clawfoot tubs.

For some reason the picture quality really sucks
on this interface.  See a better copy here.
Even though it's the bottom of the tub (and thus will
not be visible once the tub is installed in the bathroom),
Clint thought it would be cool to highlight the brand
stamp, so I used some metallic chrome spray paint
left over from painting the tub feet.


I am really happy with the way the exterior turned out,
I cannot wait to get the tub in the bathroom.
That's it for now - stay tuned for posts on refinishing the inside of the tub, and fixing up the claw-feet!

Tuesday, October 29, 2013

Painting the Hallway and Hanging Wedding Photos

Next up on the painting to-do list was the
upstairs stairwell / hallway.

I couldn't find any good 'before' pictures for the hallway painting, so they must have been included in the pics
I lost when my computer died.  :(

However, the lack of 'before' pictures isn't 
really major loss since the hallway area was pretty lame
(seen here in my Replacing Grossness with Lovely Carpet! post)
It was pretty dirty and painted some routine (boring) version of off white, which you can see in this picture of this ugly pine dresser adorned by the lovely Bear Bear!


We painted this dresser - I will be posting on that soon too, but you can see a sneak peak of the finished product below!
While painting is no amazing feat, I am consistently
impressed with how much, and how quickly, it changes an area.  And of all the painting we have done in the house, 
I think I like the hallway color we chose the best.  
It's a soft and creamy taupe... and makes me feel like our hallway is a serene coffee shop. :) I really like the way it coordinates with the carpet too!


After painting, we were finally inspired to hang
this super cute set of picture frames that we got at
Pier 1. We purchased these frames with a gift card we received from our friends Jamie and Michelle at our engagement party.
We absolutely love the antiqued window pane style, 
they are perfect for an old farmhouse!

(I have to admit that the frames sat hung on the wall empty for several months, but we finally got some wedding pics in them!)


Sunday, October 27, 2013

Gluten Free Chicken Pot Pie (...and regular Chicken Pot Pie, too!)

Nothing says fall like comfort food...
and my favorite comfort food of all is probably chicken pot pie.
(Followed closely by chicken & dumplings!)
It was easier to make pot pie a couple years ago before
we figured out that Clint has a gluten intolerance,
but that shouldn't stand in the way of good pot pie!

L - Pamela's Baking Mix, R - Pillsbury GF Dough
In our continuing quest to eat the best tasting
gluten free foods possible, I actually made 2 pot pies, each with
different GF crusts - so Clint could do a taste test comparison.  (Actually, we had company, so I made 4 pot pies 
total - 2 GF and 2 regular).

The GF Crust Options:


Up at bat were Pamela's Bread Mix & Flour Blend and a (new?) premixed Pillsbury Gluten Free dough.
(Next time I might try this King Arthur Flour recipe.
Previously we have tried the 'Gluten-Free Pantry Perfect Pie Crustand I don't remember how it tasted, but it was definitely more complicated to make.  We'll have to try it again.)

The Dough Comparison
Pros Cons
Pillsbury No mixing required, very easy to roll out, very quick to use Thinner dough is slightly difficult to work with - the dough stuck to the parchment paper a lot when trying to put the crust into the pie dish and when covering the pot pie
Pamela's Rolled dough is easy to work with, comes off parchment paper without difficulty Time consuming to make, difficult to get dough into the right consistency

In terms of taste, Clint said that the main difference he noticed was that the Pillsbury crust was thinner. (There was more Pamela's dough than Pillsbury, so they did roll out a little thicker.) He didn't seem to have a preference between the two, and claims he would eat either happily.

The Pamela's crust is a little thicker and crispier, and the Pillsbury was a little softer, and possibly flakier.
This did make the Pillsbury crust more susceptible to
getting soggy from the filling.

The (GF) Recipe

This recipe is my adaptation of a recipe originally
found on allrecipes.com, available here.
This recipe will make 2 deep pies - I like to load 'em up! 

Crust
- 2 pairs of your favorite 9" GF pie crusts
- 1 egg white

Filling
- 2 lbs boneless, skinless chicken; cubed (I prefer thighs)
- 6 large carrots, sliced (~4 cups)
- 4 stalks of celery, sliced (~2 cups)
- 2 or 3 small waxy potatoes, cubed (~2.5 cups)
- 1 can of corn
- 2 cups frozen peas
- 5 or 6 cups chicken broth

Gravy
- 2 or 3 small onions, diced (~2 cups)
- 3/4 cup butter
- 1/3 cup sorghum flour
- 1/3 cup potato starch
- 1 tsp salt
- 1/2 tsp black pepper
- 1/2 tsp celery seed
- 1 tsp poultry seasoning
- 1/2 tsp garlic salt
- 2 tsp fresh rosemary, minced
- 1 & 1/3 cup milk

Putting it together:

1. Preheat oven to 375 degrees F.
2. Place bottom pie crusts. Beat egg white and brush pie crusts with egg white  Bake bottom crusts at 375 for 5-8 mins. Save egg whites for later use on upper crust.
3. Combine filling ingredients (chicken, carrots, celery, potatoes, corn, peas, & chicken broth) into a large pot and boil for 10 mins. Strain filling while saving the chicken broth for us in the gravy. Set filling aside.
4. In a large saucepan, cook onions in butter until soft. Stir in salt, black pepper, celery seed, poultry seasoning, and garlic salt. Stir in sorghum flour and potato starch. Slowly stir in milk & chicken broth. Simmer over low heat until gravy is thick.
5. Fill bottom pie crusts with filling mixture. Pour gravy mixture over filling. Sometimes if the gravy is really thick (and doesn't seem like it will naturally fill the spaces well), I use a large spoon to manually mix the gravy and filling.  This also allows me to add more gravy. More gravy = more yummy!
6. Cover pies with top crust, seal pie edges cutting away excess dough. Cut small slits into the crust for escaping steam. Brush top crusts with remaining eggwhites.
7. Bake pies in preheated oven for 30-35 minutes. Allow pies to cool prior to serving.

**If you prefer to make a non-GF pot pie, simply
replace the GF pie crusts with your favorite regular pie crusts,
and substitute the (1/3 cup sorghum + 1/3 cup potato starch)
mixture with 2/3 cup flour.

*Find a printer friendly version of this recipe 
on my Google Docs here!