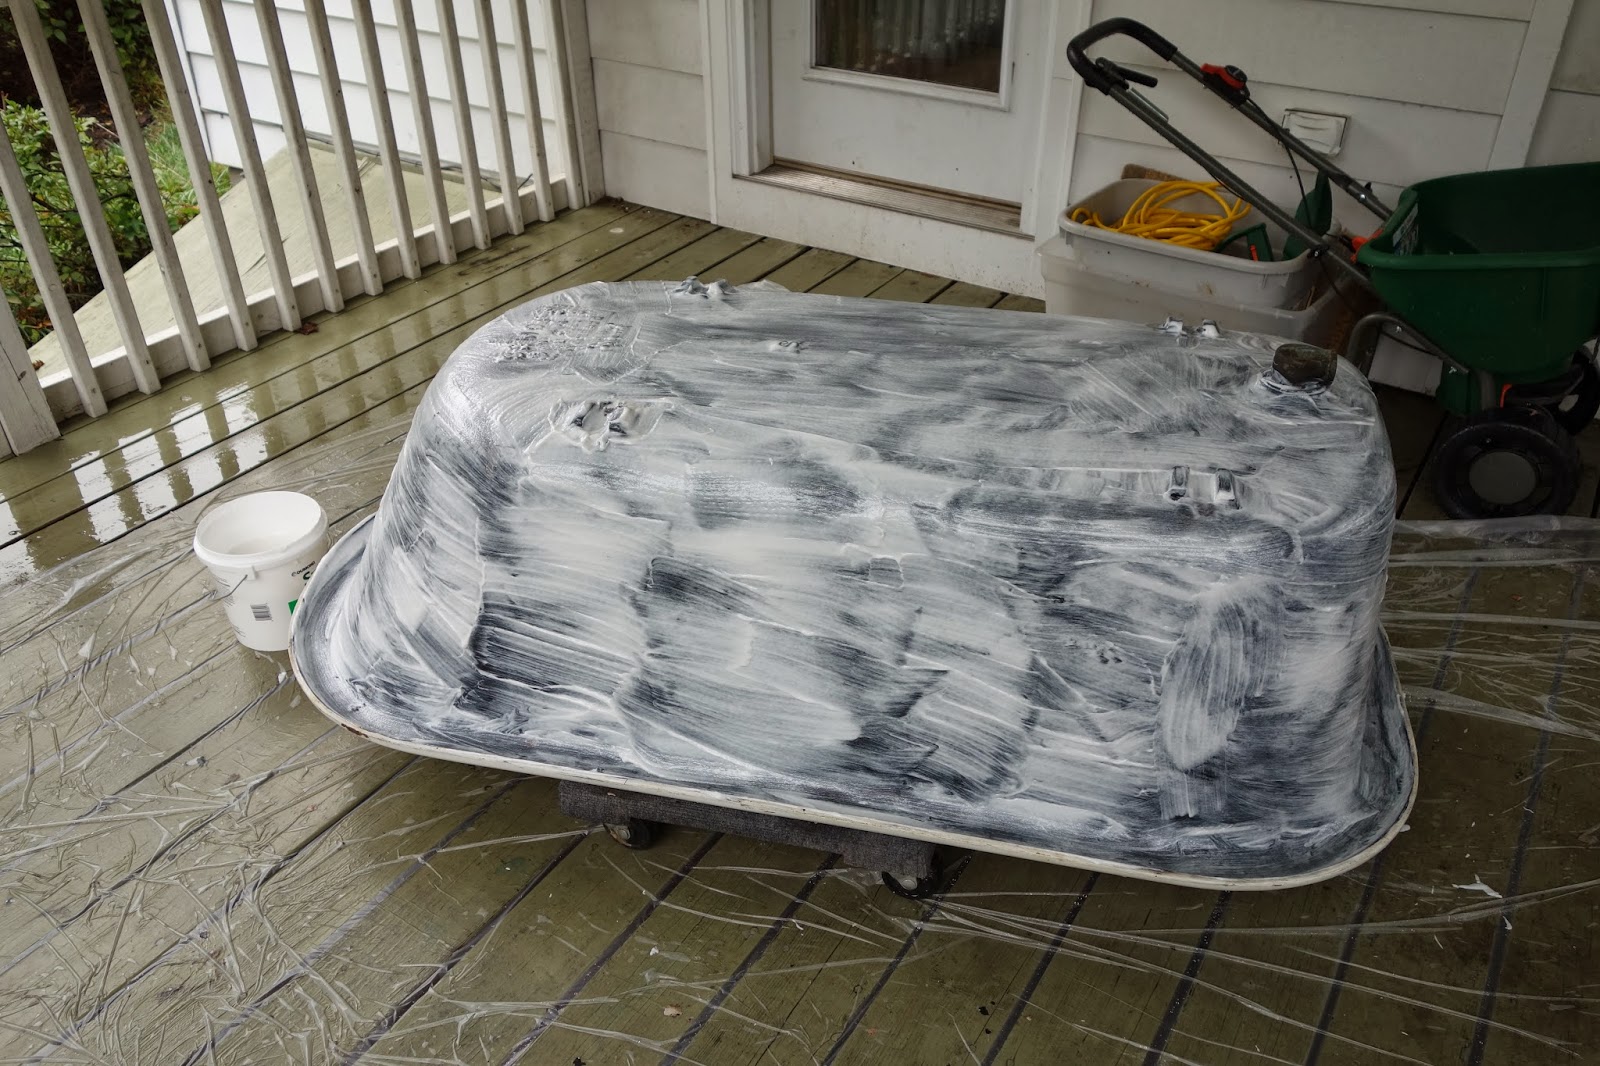
After refinishing the exterior of the 1914 clawfoot tub
(Refinishing the Clawfoot Tub, Part 1!), it was time to tackle
the interior of the tub - the porcelain.
We thought briefly about hiring a professional. I've read
that's the only way to get a really great finish that will last - but I also read about several cases where professional finishes crapped out after a few months of use too... So you can't win. And it's hundreds of dollars, which is difficult when we're trying to get the bathroom done as frugally as possible. We have expensive taste so we have to make up for it somewhere!
First we wanted to address major flaws in the porcelain enamel.
We thought briefly about hiring a professional. I've read
that's the only way to get a really great finish that will last - but I also read about several cases where professional finishes crapped out after a few months of use too... So you can't win. And it's hundreds of dollars, which is difficult when we're trying to get the bathroom done as frugally as possible. We have expensive taste so we have to make up for it somewhere!
First we wanted to address major flaws in the porcelain enamel.

We used a product called JB Water Weld Epoxy Putty to
patch some small scratches and larger chips, like this one:

There ended up being a lot of areas that we patched up.

After allowing the epoxy putty to cure, we sanded the entire surface of the tub to make sure it was even and ready to be refinished. This required a combination of power sanding and sanding by hand - the curves of the tub actually made
hand-sanding with sandpaper sheets more effective than
using the power sander for a lot of areas.
We also decided that the drain needed to be removed prior to refinishing to prevent rust from forming under the old drain.
It was incredibly difficult to get the drain out.
It was incredibly difficult to get the drain out.
Theoretically they're supposed to screw out. We tried pliers.
We got nowhere. We tried prying it with a hammer and a flat head. We got nowhere. We eventually went to the hardware store and got a tub wrench similar to this. We tried to use it (it barely fit) and we still couldn't get the drain to unscrew from the drain pipe on the underside of the tub. We tried WD-40. Nothing. Things were starting to seem hopeless...
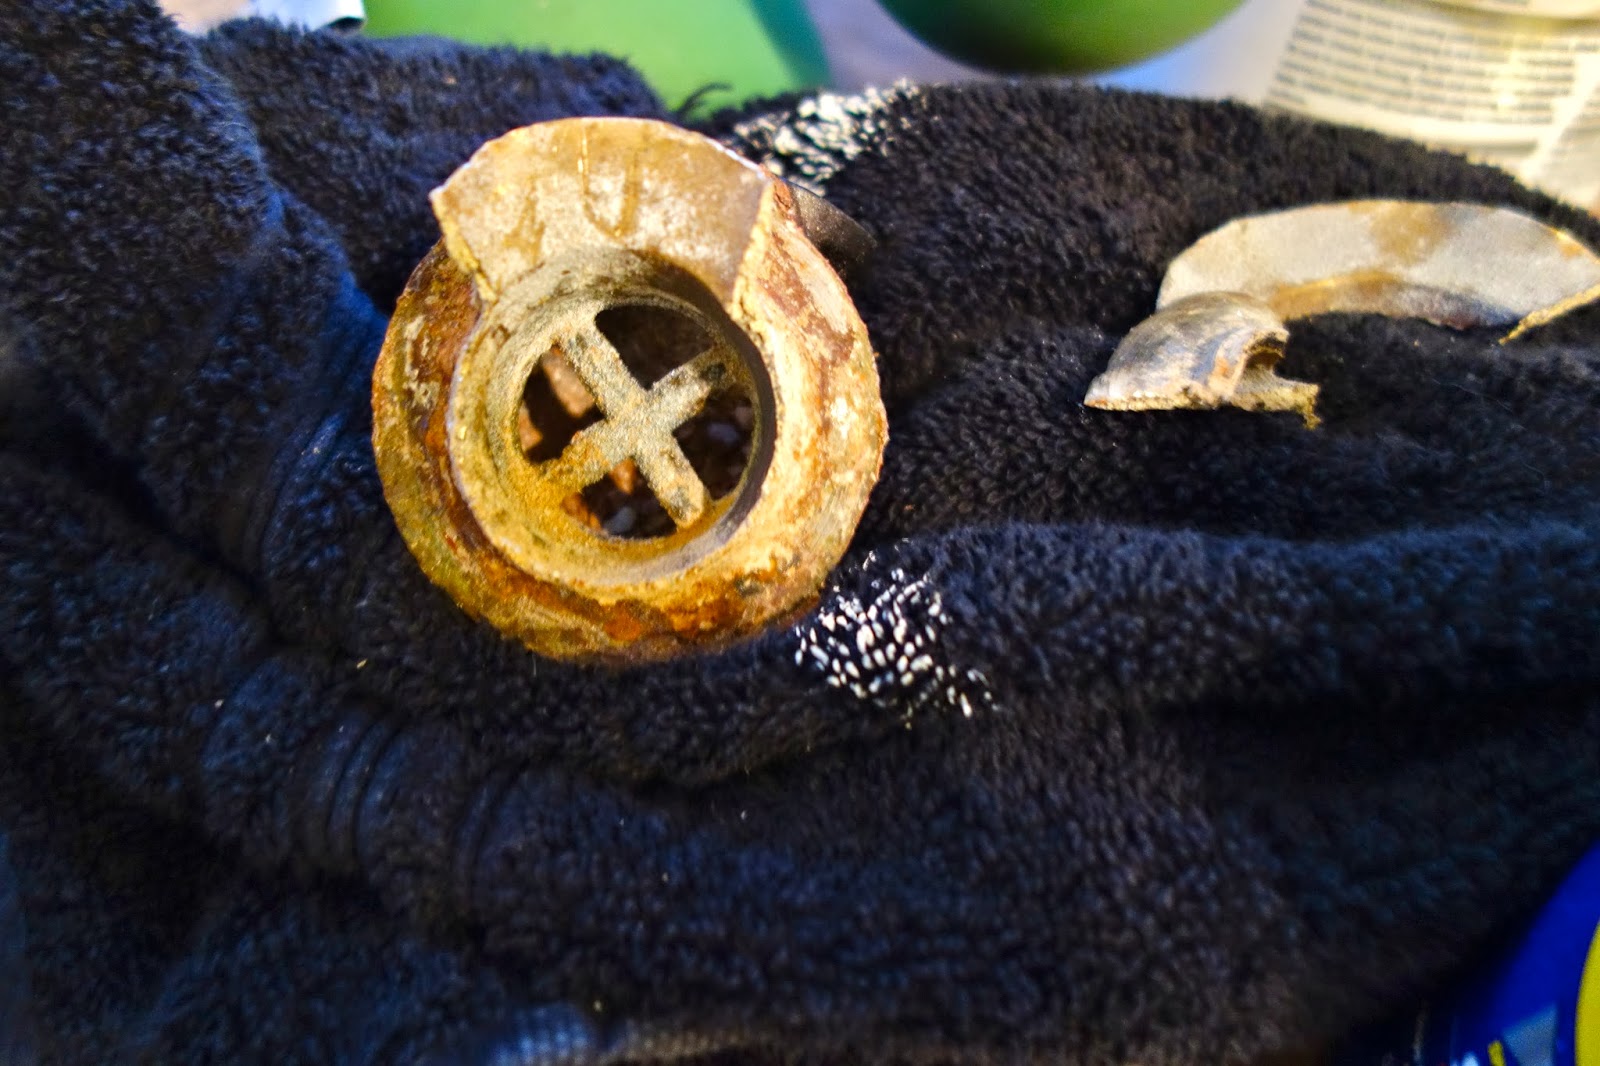
We went back to trying to pry it up with a screwdriver and a hammer, and eventually had some success prying up the edges all around the drain. Then one whole half of the top edge just broke off. At this point, we went back to using the wrench which seemed even less able to fit than before (the drain had probably bent in our drain removal antics). Clint resorted to hammering the wrench into the drain just to get it to fit. Wouldn't you know it, Clint hammered hard enough to just push the entire drain out through the bottom of the drain hole! Haha! YES!!
We went back to trying to pry it up with a screwdriver and a hammer, and eventually had some success prying up the edges all around the drain. Then one whole half of the top edge just broke off. At this point, we went back to using the wrench which seemed even less able to fit than before (the drain had probably bent in our drain removal antics). Clint resorted to hammering the wrench into the drain just to get it to fit. Wouldn't you know it, Clint hammered hard enough to just push the entire drain out through the bottom of the drain hole! Haha! YES!!

| 
|

We were finally ready to start preparing the tub for the refinishing kit. After much online research,
I chose the Bathworks Refinishing Kit w/Slip-Guard.
All in all, the refinishing process was a lot easier
than I had anticipated based on everything I had read online.
Many reviews said that it would be difficult, smelly, look crappy and peel after a few months. (We took the risk anyways).
A majority of comments online revolved around the noxious fumes. We did the whole process outside, so that probably helped with the fumes. I couldn't smell anything because I was using a full scale ventilator, but Clint said it wasn't bad at all. However, if you're planning on doing this indoors, I'd definitely recommend a get up like this:
 |
| you can never be too safe! |
Everything I read online told me that prepping the tub was the most important step -- sanding it, cleaning it, etching it and priming it. If you failed in these steps, your finish would eventually (or quickly) begin peeling. So we focused on that.
We followed the instructions in the kit - paying special attention to the preparatory steps, and put 2 coats of the epoxy paint finish on the tub. I've gotta say, the tub immediately looked better! The coating completely covered all of the stains that were on the inside of the tub.


After the two coats, we had to devise a plan to keep a bunch
of outdoorsy things (bugs/seeds/dirt/leaves) from landing on the tub and getting stuck in the finish, since it took several hours to dry. (You're also supposed to avoid putting water in the tub for 24-48 hours, which is something to note if you're doing this to your only tub/shower). Fortunately we happened to have a loveseat cover that I never used from a previous move,
and made that work. Nothing landed on it!

Unfortunately - it wasn't perfect. :( Actually more like double sad face. :( :( There were a couple runs in the epoxy, and that really annoys me because we were pretty darn vigilant about inspecting the tub while coating it (and I'm a perfectionist).
It's not terribly visible, and I don't know how many
people would notice if I didn't point it out, but:
 |
| I pumped up the definition to make the run more visible. |
closer to a 'perfect' finish.
Nonetheless, overall I'm happy with the Bathworks product and happy with our decision to refinish the tub ourselves. Even as a perfectionist, I can honestly say that the tub looks pretty great, and it was a heck of a lot cheaper than hiring a company to do it. And it was exciting that it was one more thing we did outselves. Nothing like a personal touch!
With any luck, we did a good job doing the prep work on the tub and the finish will stay strong for many years to come (I'll update you guys in a year or so!). And eventually, when the finish does start to falter, we'll do the whole thing again - and next time we'll eradicate those pesky runs. :)
Stay tuned for a short post on fixing up the tub feet!