One of our biggest goals for updating the farmhouse
was fixing up the main bathroom upstairs. We wanted to stay
era appropriate, so we were thinking of a clawfoot tub. But the bathroom isn't large enough for a shower AND a tub and I've heard that clawfoot tubs are inconvenient to shower in. Conundrum.
era appropriate, so we were thinking of a clawfoot tub. But the bathroom isn't large enough for a shower AND a tub and I've heard that clawfoot tubs are inconvenient to shower in. Conundrum.
In the end, we decided that maintaining the farmhouse
aesthetic and the charm of this 1911 home was worth the possible
shower inconvenience. And it would look great.
(And isn't that what's most important??)
Looking online to buy a new clawfoot tub, I saw that
they are ridiculously expensive. Somewhere in the ballpark of 1500-3000 (or more!), after you get all the hardware you need such as the shower conversion kit.
So naturally, I started looking on craigslist and
found an AWESOME American Standard clawfoot tub from 1914!
More specifically, August 17, 1914! How cool was that??
And it was only 125 dollars. Score!
|
|


Although it wasn't in bad shape considering the age,
it was clearly going to need to be refinished before it would
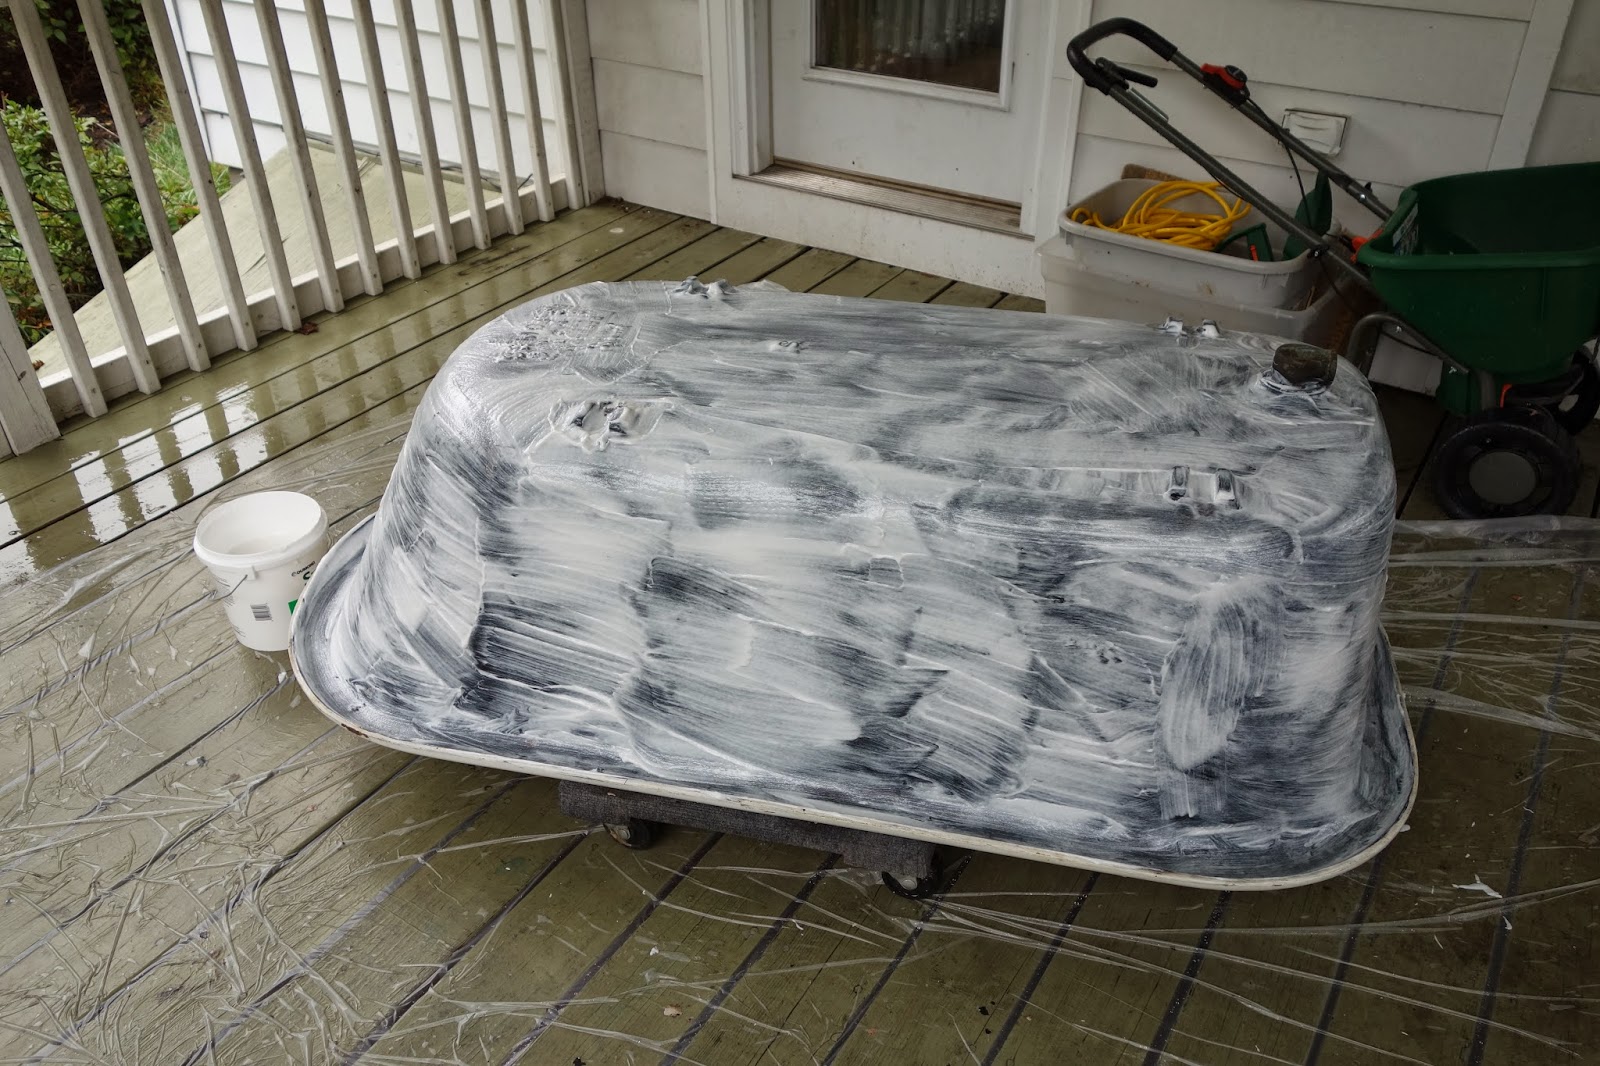
go into the bathroom. We started with the exterior.
We began by stripping the paint. After extensive online research, we got a really eco/human friendly paint stripper called 'SmartStrip'. You paint it on, leave it for a long time, and then remove it. After we stripped the paint off, Clint took the power-sander to the tub to smooth it out.
| 
|
 |
| the tub, in all of it's natural cast iron beauty |

 |
| For some reason the picture quality really sucks on this interface. See a better copy here. |
Even though it's the bottom of the tub (and thus will
not be visible once the tub is installed in the bathroom),
Clint thought it would be cool to highlight the brand
stamp, so I used some metallic chrome spray paint
left over from painting the tub feet.


No comments :
Post a Comment